Ultimate Radio Communication Guide: What to Look for in a Handheld Transceiver
My previous article on radio communication was a primer that went into detail about why you’d want to learn about radios, the way they operate and what frequencies are available for you to operate on.
Today I’m going to address what kind of radios are out there for you to use with those different frequencies, the advantages to programming your radio, what kind of upgrades are available and even how to create your own comms, or frequency card.
I’m going to be referencing quite a bit of information from my
last article when it comes to frequencies, so if you’re not up to speed yet on the difference between say, VHF and UHF, check out my first article.
What To Look For In A Handheld Radio
First off, my recommendations for radios are going to be primarily based on handheld applications. While there are certainly pros to having a larger base station transceiver, the handhelds have it when it comes to portability, ease of use, versatility and more. They can be used at home, in a vehicle, or even in the field.
What’s a Transceiver?
A transceiver, which I’ll be referring to frequently in this article, is essentially your radio. A transceiver is a unit which contains both a receiver and a transmitter. While these used to be separate units until the 1920s, most modern radios are transceivers. Occasionally you’ll see just a receiver, but this is mostly for shortwave listening and beyond the scope of this article.
What Radio to Buy?
This is a loaded topic and one that I mentioned I’ll be approaching from a handheld-only angle. I’m also going to keep this as budget conscious as possible, too. Like many of you that enjoy shooting, you’ve probably also amassed quite a collection of holsters, as you try different types out to find what works best for you. Handheld transceivers can be just as bad, but my hope is that with the info I’ll be providing, you’ll avoid amassing a box of radios that you no longer use like I have.
Some important considerations when looking at radios, are asking yourself some hard questions ahead of time. What do I want to do with my radio? What frequencies do I have access to and what are my power limits on those frequencies? My last article did a good job of laying out all the different frequencies available to you and which require a license to operate on. If you don’t already know which of the different frequencies you want to operate on, like FRS, GMRS, or MURS, reference that first article I wrote.
I hate to keep mentioning that
first article, but I know there are some of you that are reading this that may think I’m breezing over important topics and I’m doing that for the sake of those that have the baseline info from that article.
Frequency And Power
Addressing each of these questions one at a time will give you a background of what essentials to look for. What you want to do with the radio is important, are you just talking outside within line of sight of another person? FRS radios are great for this application, but if distance is a concern, they’re not for you. FRS transmits and receives on UHF, which by nature doesn’t travel as far as VHF due to UHF’s shorter wavelength. This of course completely discounts obstacles you may encounter, which will decrease range even more.
Remember that more power equals better range, so the FCC legal limit of 0.5 watts on FRS is a real let down, when you can move to VHF and MURS frequencies and bump up to 2 watts of power. Pay your $90 to the FCC for a GMRS license and you can transmit at 5 watts to 50 watts. Have a HAM license? That changes things too.
Suffice to say, I’m trying to talk you out of FRS. FRS radio manufacturers like to inflate their range, which I got into on that last article. They make claims that seem to violate the laws of physics and the curvature of the earth. What I mean by FRS radios, are the two packs of walkie-talkie looking transceivers you commonly find at Wal-Mart and sporting goods stores.
What you’re looking for in a good handheld is as much wattage as you can buy, while keeping in mind the legal limits you can operate on within your chosen frequencies. The frequency range the transceiver operates on is also very important. Obviously if your intent is programming MURS frequencies into your handheld, a handheld set up for CB with an operating range only in the High Frequency 27 MHz range, isn’t going to work with MURS and its 151-154 MHz range. The radios I’ll be recommend in this article are going to speak directly to versatility and can handle MURS, GMRS, NWR (Weather) and some HAM frequencies.
Typically, you’re only going to find a 5 watt max on handhelds, but what’s also important is ensuring they have different settings for power. Meaning that they have the ability to switch between a low power setting and a high power setting. This will ensure you have a handheld that can function well for GMRS and HAM wattage, but can also dial down for operating on MURS frequencies and not violate any FCC laws.
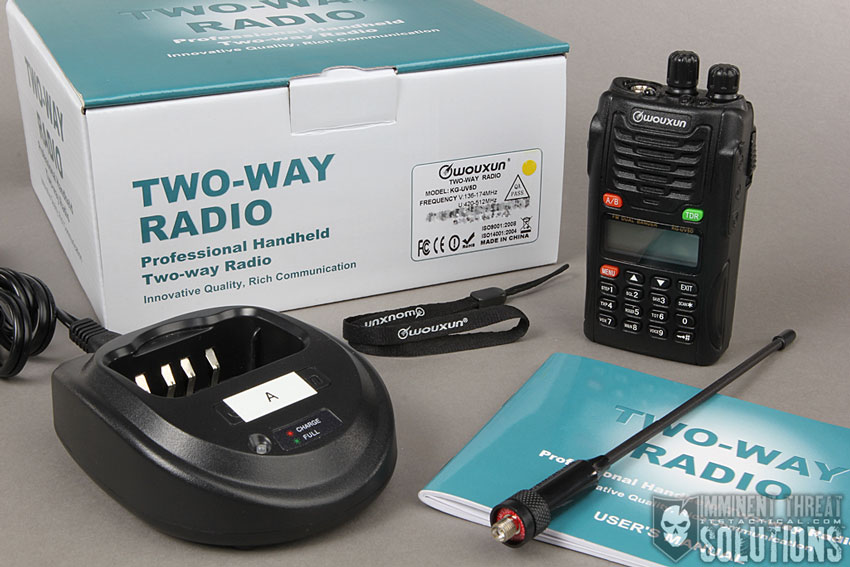
A good example of this is the Wouxun KG-UV5D radios we have here at ITS. They feature a selectable 1W low and 5W high setting for VHF and a 1W low and 5W high for UHF. By setting them to the low wattage setting, they’re able to be used with the FCC MURS requirement of not exceeding 2 watts of transmit power, yet with a programming change, they can be boosted to the high setting for GMRS or HAM frequencies at 5 watts. GMRS and HAM is obviously limited to licensed individuals only. More on those licenses and certifications
here. While I could link to the KG-UV5D, the
KG-UV6D is the newest version and is what I’d recommend if you’re buying one new.
Dual Band And More
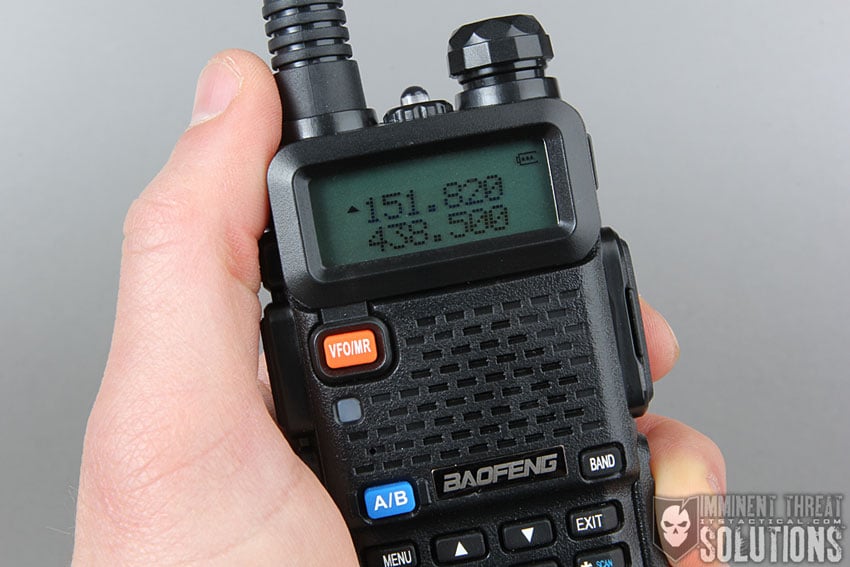
Having a dual band monitor feature on your handheld can be quite helpful. This feature will allow you to monitor two different frequencies at once. These can be VHF/VHF, VHF/UHF and even UHF/UHF. This might be hard to understand, so I’ll put it in the perspective of how we’ve used dual band before. During our recent
ITS Muster, we assigned a radio to each of our squads and they had a designated main frequency to talk to the ITS staff on. The staff also had a frequency that we’d use to talk to each other on that the attendees didn’t have programmed into their radios. So we’d “monitor” both of these frequencies simultaneously with the dual band function of our radio transceivers and were easily able to select the specific frequency we wanted to transmit back on.
So in theory if the main frequency was channel 1 and our inner-staff channel was channel 2, we’d just have to make sure we were transmitting on channel 2 if we didn’t want the attendees to hear our conversation. One more thing about dual band is that you want to ensure your antenna can support dual band as well. If you’re buying a radio with dual band built-in, the antenna that comes with the radio will more than likely support it, it’s aftermarket antennas you have to worry about.
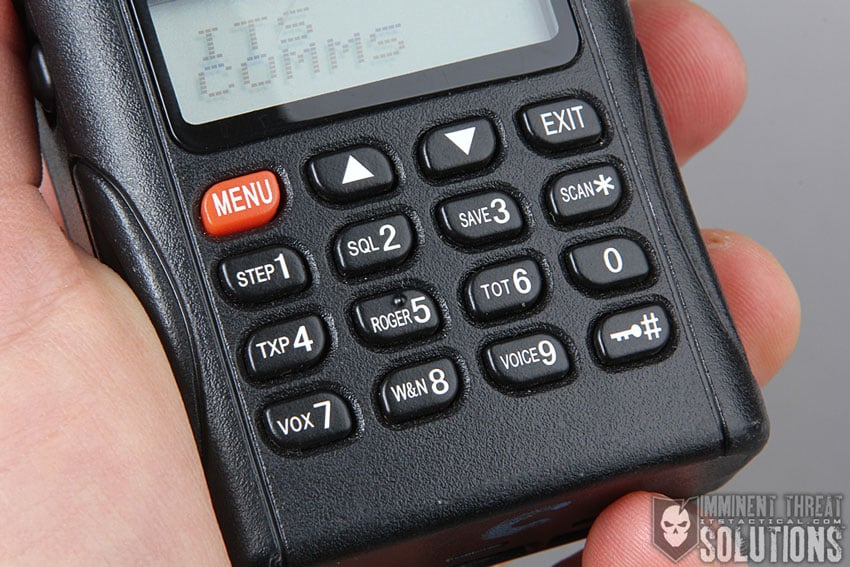
Another important thing to look for in a radio transceiver its the ability to program it manually, as well as with programming software using a cable. More on programming in the next section. What I mean by programmed manually is that it has a keypad, a digital display and that all menu options can be set with that keypad and display. The display also provides visual feedback on what channel/frequency you’re operating on.
A few other considerations are as follows:
- Does the transceiver have a memory bank to store your favorite frequencies?
- What’s the battery type? Is it rechargeable? Is a charger included?
- Is there an external mic/push-to-talk connection? This is likely also where you’d connect a programming cable.
- Does it have an FM radio? (76-108 MHz) Do you need access to an FM radio?
- What kind of antenna connection does it have? Is it SMA or BNC? (more on antennas later)
- Does it have a manual channel adjustment knob? This can come in very handy.
This Is Great, But What Radio Do I Buy?
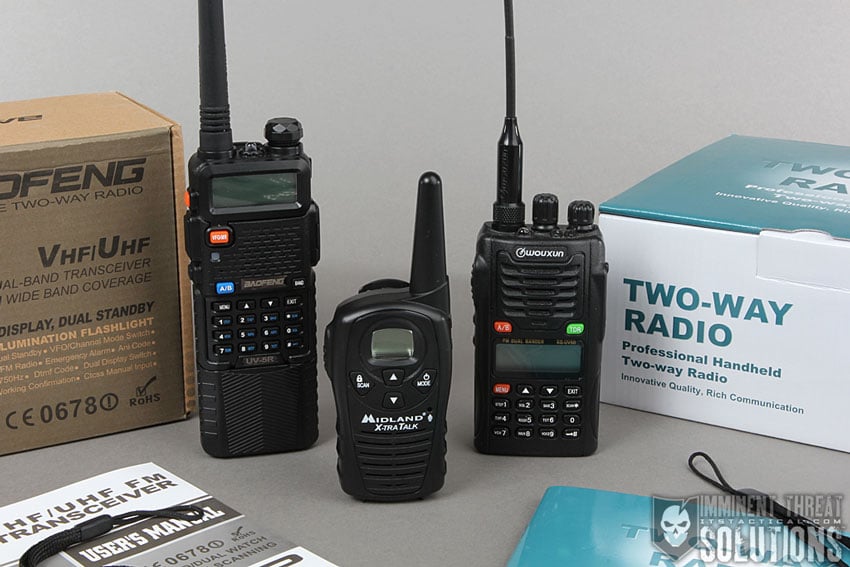
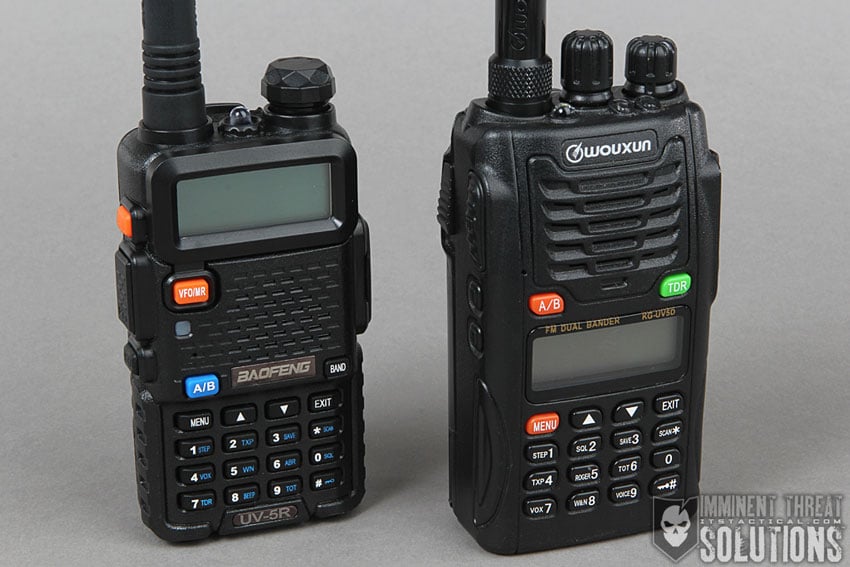
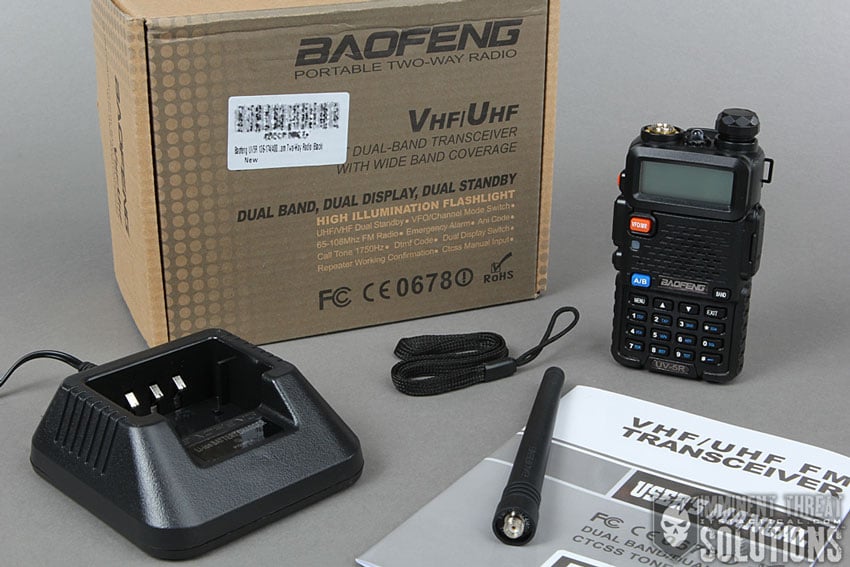
There are two transceivers I’ll put my name behind. My first choice is the
Wouxun KG-UV6D and second is the
Baofeng UV-5R. They’re both dual band monitor, programmable via keypad and cable, can handle MURS, GMRS, NWR (Weather) and some HAM frequencies.
Other notable features they share are multiple storage channels, digital backlit display (backlight can be disabled), channel lockout, 50 CTCSS / 104 DCS Tones, selectable low/high power settings and priority scanning. Each includes a rechargeable battery, desktop charger, belt clip and dual band antenna.
So what’s the difference? In my opinion, the Wouxun is a better made product. It feels more robustly made and they handled everything we threw at them during our last Muster without a hiccup. While I haven’t had the Baofeng in the same situations that I did with the Wouxun transceivers, there’s just something about the way they feel that makes me think they won’t last under hard conditions. I’m still testing the Baofeng’s out, but so far, that’s my opinion.
There’s a big cost difference between the units and that may push you one way or another. Let’s get into other things that separate these two radios and you’ll see everything lined out.
- Frequency Range: 136-174 MHz, 400-480 MHz RX (receive) and TX (transmit)
- FM Radio: 76-108 Hz (RX) automatic tuning and storing, radio frequency display, 18 FM memories in 2 banks
- Selectable Power: VHF – 5W high/1W low UHF – 4W high/1W low
- Selectable Step Sizes: 2.5, 5, 6.25, 10, 12.5, 25, 50 or 100 kHz
- CTCSS/DCS: 50 CTCSS and 105 DCS Codes
- Memory Channels: 199
- Weather Resistant: IP55 Waterproof Standard
- Programable: Via Keypad or Computer w/ Kenwood Style 2-Pin Connector
- Scanning: Multiple Modes Including Priority Scan
- Other Features: Keypad Lock (auto or manual), Flashlight Illumination, Optional Voice-Prompt Operation, VOX Function, Stopwatch Function, SOS Function, Selectable Transmit Over Timer (15-600 sec.), Wide/Narrow Band Capable, Independent Channel Adjustment Knob
- Includes: 1700 mAH Li-ion battery, SMA Dual Band Antenna, desktop rapid charger (3-4 hrs.), belt clip, wrist strap, user manual
- Operating Temperature: -22 °F to 140°F (-30°C to +60°C)
- Dimensions: 2.3” wide x 4.1” height x 1.6” deep (with battery, without antenna)
- Weight: 9.1 oz. w/ battery pack and included antenna
- Made in China
CE & FCC Part 90 Certified
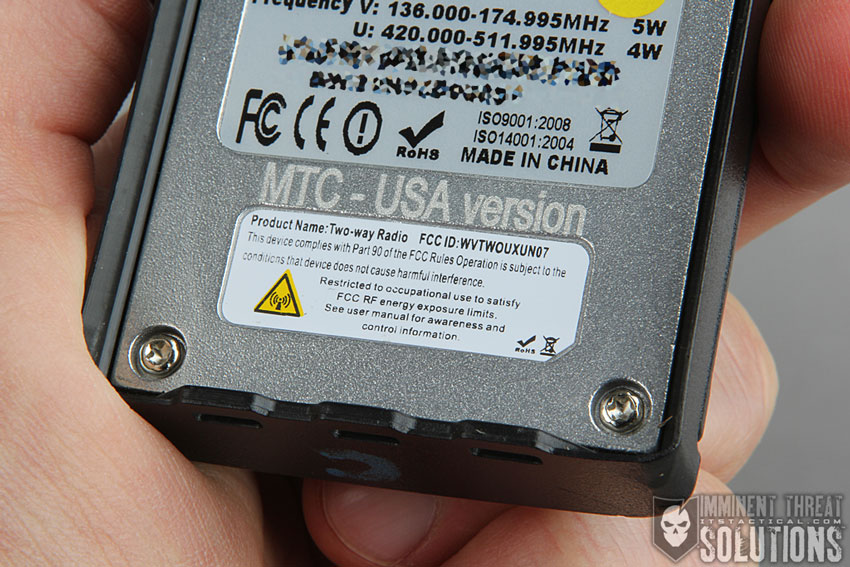
FCC ID: WVTWOUXUN07
- Frequency Range: 136-174 MHz, 400-480 MHz RX (receive) and TX (transmit)
- FM Radio: 65 – 108 MHz (RX)
- Selectable Power: VHF/UHF – 4W high/1W low
- Selectable Step Sizes: 2.5, 5, 6.25, 10, 12.5 or 25 kHz
- CTCSS/DCS: 50 CTCSS and 104 DCS Codes
- Memory Channels: 128
- Programable: Via Keypad or Computer w/ Kenwood Style 2-Pin Connector
- Scanning: Priority
- Other Features: Keypad Lock (auto or manual), Flashlight Illumination, Optional Voice-Prompt Operation, VOX Function, Emergency Alarm, Wide/Narrow Band Capable, Timeout Timer
- Includes: ANT5 SMA-J flexible antenna (male connector), 1800 mAH BL-5 Li-ion battery, belt clip, wrist strap, AC adapter and drop-in charging tray.
- Operating Temperature: -4°F to 140°F (-20°C to +60°C)
- Dimensions: 2.2” wide x 4.3” height x 1.2” deep (with battery, without antenna)
- Weight: 6.8 oz. w/ battery pack and included antenna
- Made in China
FCC Part 90 Certified
FCC ID: ZP5BF-5R
Part 90 FCC Certification
Something additional you want to be on the look out for on a radio you’re considering purchasing, is that it’s FCC Part 90 Certified. This means the manufacturer has complied with the FCC and ensured their radios can be sold or imported into the US. There should also be a corresponding FCC ID that you can look up in the
FCC online database to double check its authenticity.
Something to be aware of is that foreign manufacturers will only put this Part 90 certification label on radios they’re shipping to the US. Meaning that if you’re purchasing from an overseas dealer, your radio might be in compliance, but just not have a factory-installed label. According to the FCC, if there’s no label, it’s not legal for Part 90 Certification. Just make sure you ask if the label is installed and you’ll be fine.
Radio Programming Basics
Hopefully by now in the article, you’ve gotten a bit of the gist of programming and how it doesn’t necessarily take software and a programming cable to do so. Most modern radios that have a display and a keypad, are capable of being programmed manually through the menu options. When I say programming, I mean setting what frequency is on what channel and what menu options are turned on or off. You can even completely lock out the menu to prevent the radios from being reprogrammed accidentally.
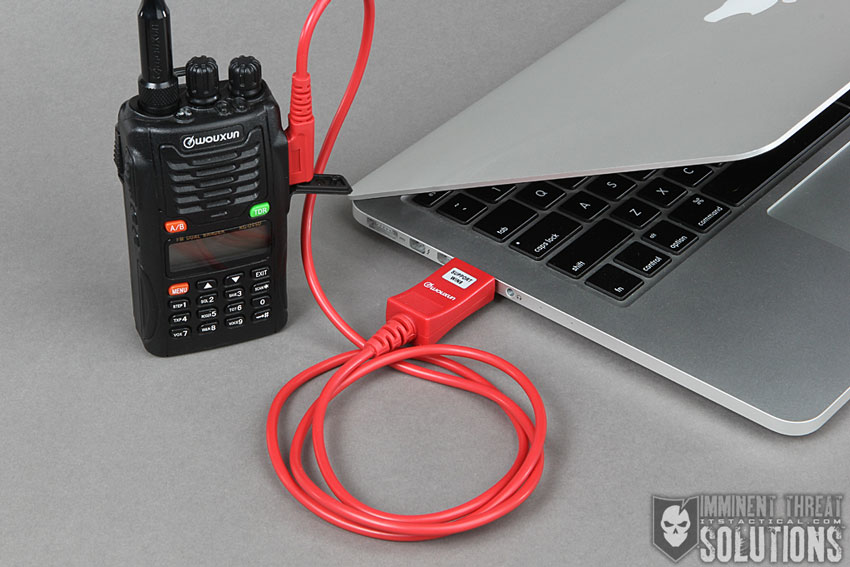
The benefits of programming a radio transceiver through a cable and software are saving time and the ease in which you can program multiple radios the same way. Programming software can differ based on what brand and model of radio you’re using too. I have my own recommendation below for software.
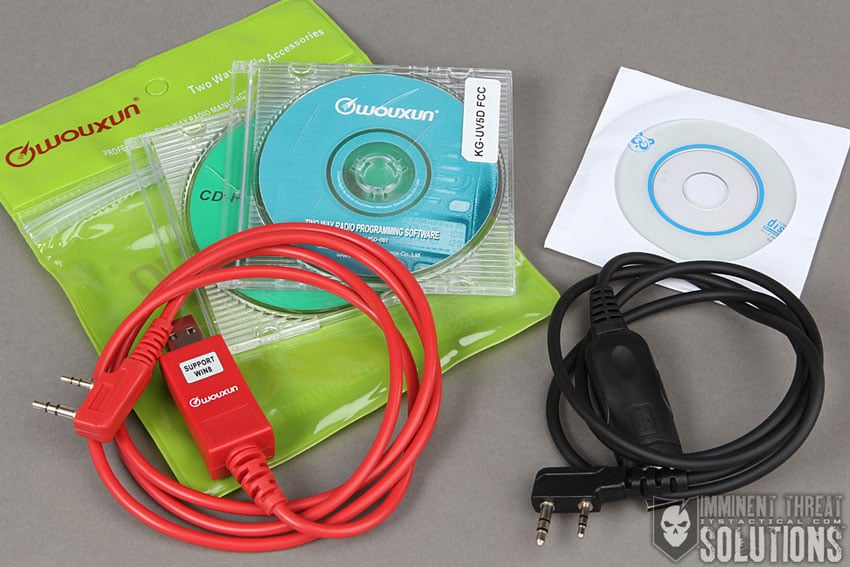
Always buy the programming cable made by the manufacturer if possible. This isn’t to say a generic cable won’t work, but it’s just one more variable you might be able to remove when you’re troubleshooting. Trust me, programming has kinks that have to be worked out.
Software I recommend looking into is
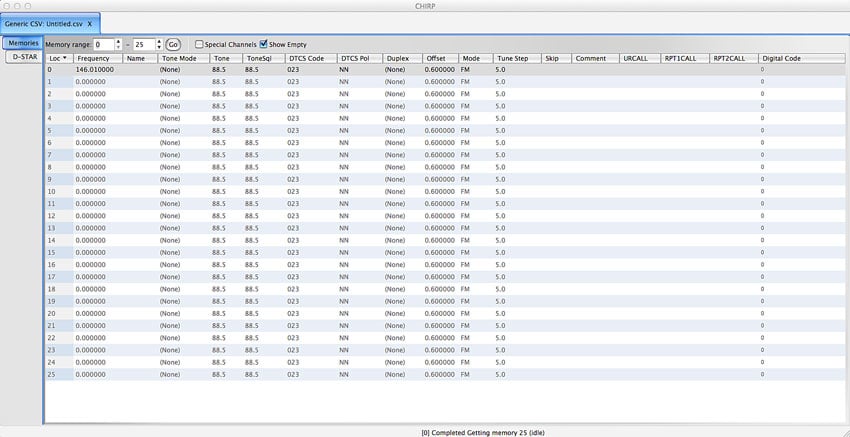
CHIRP, an open source and free amateur radio programming software that provides a way to interface with multiple data sources and formats. It’s got installers for Windows (XP, Vista 7, 8), Mac OSX, Linux, Fedora and Ubuntu. We’ve had success using the software on both Windows 7 and Mac OSX.
Both the Wouxun and the Baofeng radios mentioned in this article take a Kenwood Style 2-Pin Cable for programming, which can usually be purchased from wherever you’re sourcing your radio from.
Tuning Steps
Something important to mention in this section on programming is tuning steps. This is particularly important if you’re manually setting frequencies on a radio transceiver. If the tuning step isn’t properly set, you may notice that you blow right past the frequency you’re trying to set into your transceiver.
Common step sizes are 5, 6.25, 10, 12.5 and 25 kHz and represent the amount the frequency will change when manually tuning into to different frequencies. For instance, when you use the up/down arrow buttons to adjust frequency, the tuning step is the amount of frequency that will change for each press. 5 kHz is fairly standard and you should be able to get just about any frequency with this setting.
Creating A Frequency Card
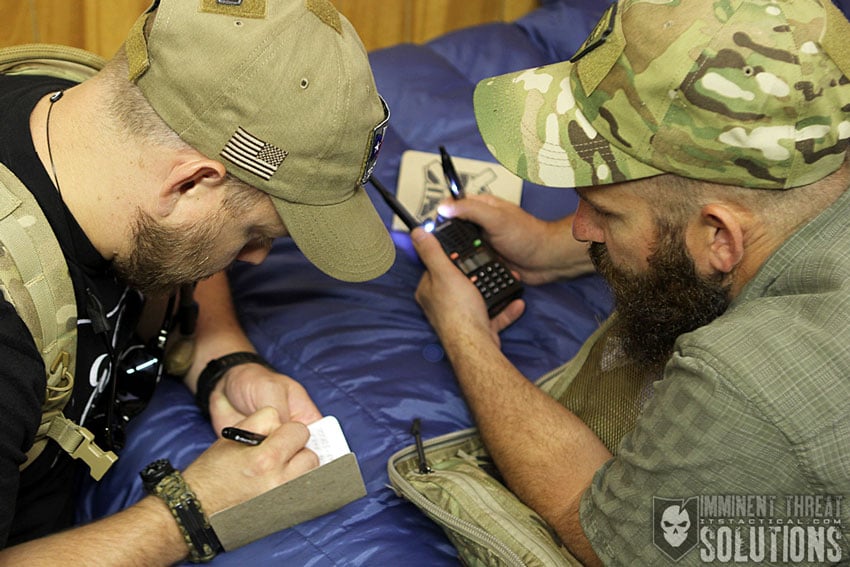
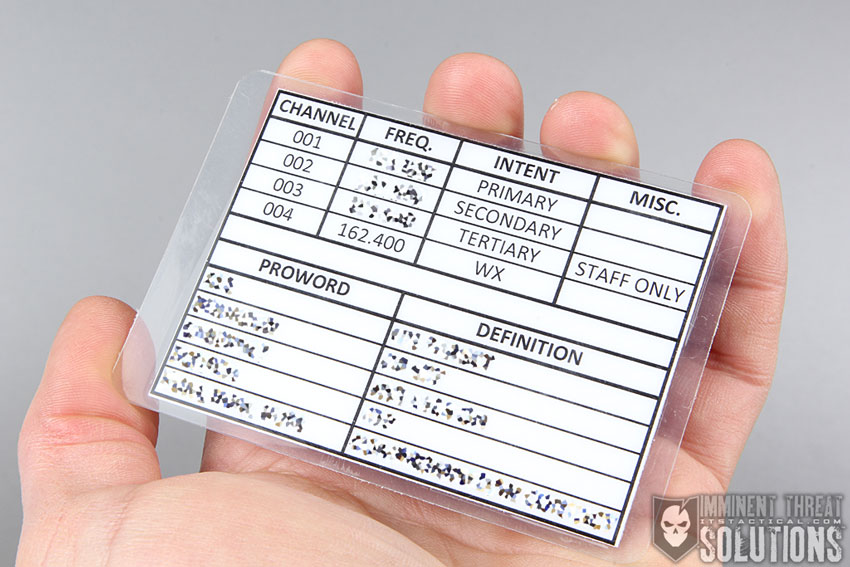
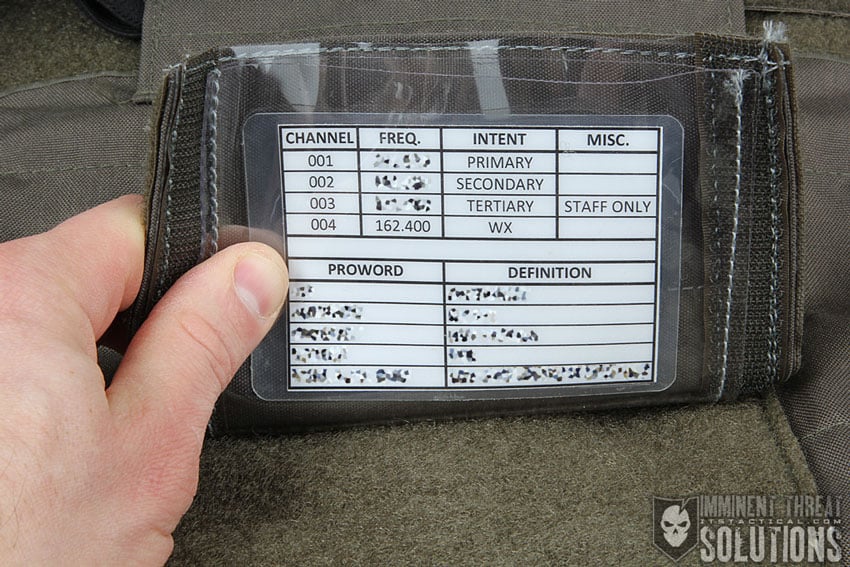
A frequency card, or comms card is a great way to have a quick reference to important channels you have programmed in on your transceiver. Not only to know what frequency a particular channel is, but what it’s for within your communication plan. It’s also a great place to store reference information like prowords, radio lingo and transceiver setting information.
For instance, I mentioned earlier that during the ITS Muster we had a designated main frequency that our squads would use to talk to the ITS staff on. The staff also had a frequency that we’d use to talk to each other on that the attendees didn’t have programmed into their radios.
A comms card is a great place to keep track of this information and keeps everyone on the same page. A couple of channels isn’t too difficult to keep straight, but when you start dealing with even more channels, a comms card becomes a necessity.
The good news is that comms cards are easy to create with nothing more than spreadsheet software and a laminator. ID card size is a good goal to shoot for when you’re designing one, but index card size is good too if you have quite a bit of info. A tip here is to design the front and back of the card in one long layout, then simply cut it out, fold it in the middle and laminate it.
Prowords
Procedure words, or prowords, are easily pronounceable words or phrases that are given specific meanings to expedite message handling. They’re often condensed and designed to not be confused with other words.
While there are plenty of universal prowords, like Roger, Over, Out, Negative and Copy, there also might be internal prowords you need to keep track of within a group and a comms card is great for this. Just be sure that a comms card is treated as sensitive information if it’s deemed so.
One of the most famous prowords is probably “Irene,” which was the “go” proword from the Battle of Mogadishu in 1993. The operation was designed to capture two of Mohammed Farah Aidid’s high-echelon lieutenants and turned into a tragic firefight documented in the book Blackhawk Down.
Radio Accessories And Upgrades
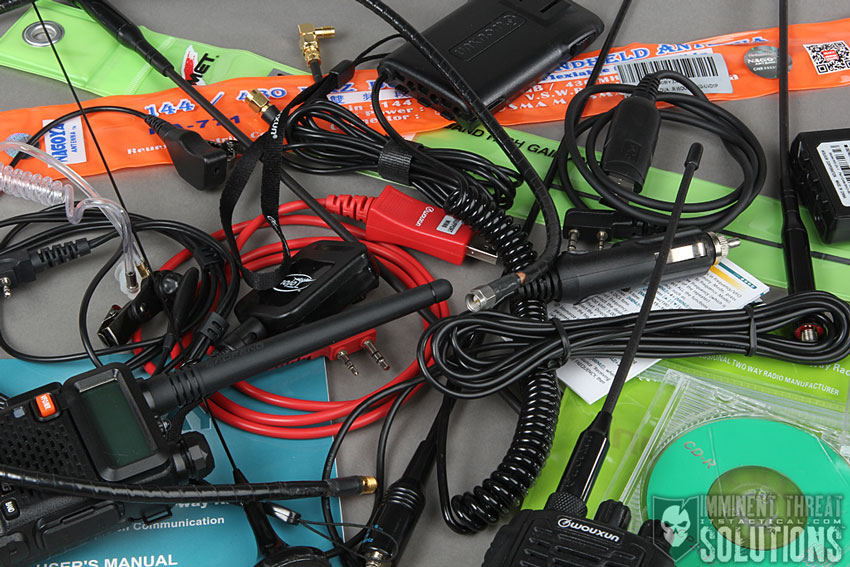
I’d like to use this section to go over a few accessories you might want to consider purchasing for your transceiver. While some don’t need much of an explanation, others include lessons learned that will hopefully save you some time when considering these options for yourself.
High-Gain Handheld Antennas
An antenna is an extremely important part of your radio transceiver and should be treated as such. Without it, your signal will suffer and it’s something you shouldn’t skimp on.
What you’ll want to look for in a
high-gain antenna is its actual gain, which reputable antenna manufacturers will list in the product details. Antenna gain is a measurement of the effect the antenna has on the signal and is expressed in positive decibels (dB), antenna loss is expressed in negative decibels.
I don’t usually quote Wikipedia, but there’s a good description written there on antenna gain that will give you a little more insight that I’ve included here:
Antenna gain is usually defined as the ratio of the power produced by the antenna from a far-field source on the antenna’s beam axis to the power produced by a hypothetical lossless isotropic antenna, which is equally sensitive to signals from all directions. Usually this ratio is expressed in decibels, and these units are referred to as “decibels-isotropic” (dBi). An alternative definition compares the antenna to the power received by a lossless half-wave dipole antenna, in which case the units are written as dBd.
Many things can affect antenna performance in the near field region, which refers to objects near the antenna that can positively or negatively impact it. One of the most common things that can affect a handheld can actually be you.
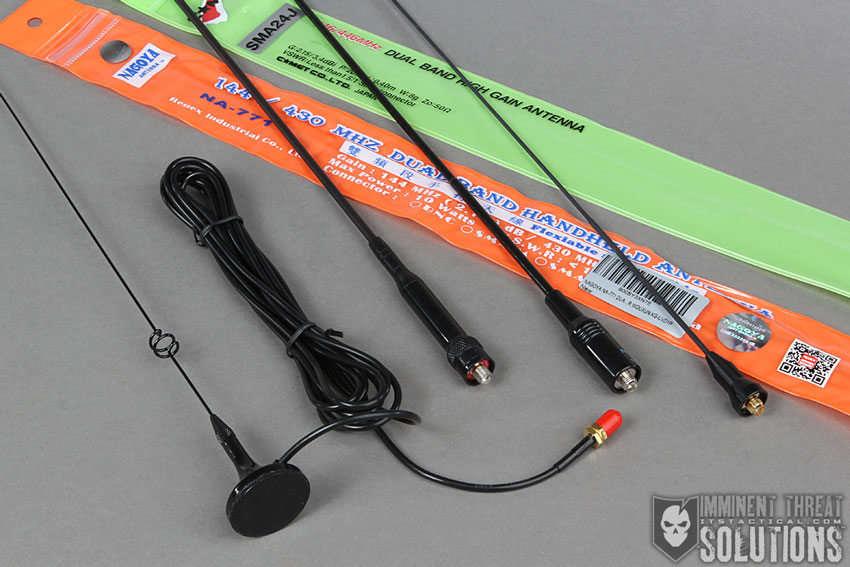
Other things to look for in a high-gain handheld antenna is that it’s dual band capable and covers the frequency and power you’ll be operating on. Here’s an example of how Nagoya lists their
NA-771 Dual Band 144/430Mhz U/V SMA-F Antenna. The first part of the description tells you what frequency its operating at (144 Mhz VHF and 430 Mhz UHF) and you’ll also see Dual Band written there along with the type of connection, which in this case is SMA-F (SMA female).
Further in you’ll also see a max power of 10 watts, which is plenty, considering most handhelds max out at 5 watts. The antenna’s gain is listed as “144Mhz 2.15dBi 430Mhz 3.0dBi” which means that in the VHF 2 Meter Band (144 Mhz – 148 Mhz) you’ll get a +2.15 dB gain, which is almost twice the gain of a stock antenna. In the UHF 70-Centimeter Band (430 Mhz – 450 Mhz) you’ll get a +3.0 dB gain, which is exactly twice the gain of a stock antenna.
Just note that an antenna like this isn’t optimized for all the frequencies a radio like the Wouxun can handle, this antenna I’m using as an example is purely optimized for the 70-Centimeter and 2 Meter Bands, which are are the bands used by local emergency radio services such as the Amateur Radio Emergency Service, Radio Amateur Civil Emergency Service and Community Emergency Response Teams.
Nagoya, Diamond and Comet are good names to look for in high-gain antennas when you’re out there researching them.
Relocating High-Gain Antennas
Something you’ll more than likely experience when replacing your stock antenna with a high-gain antenna is the length of your new whip-style antenna getting in the way. There’s a couple of things I can suggest for taming unwieldy antennas.
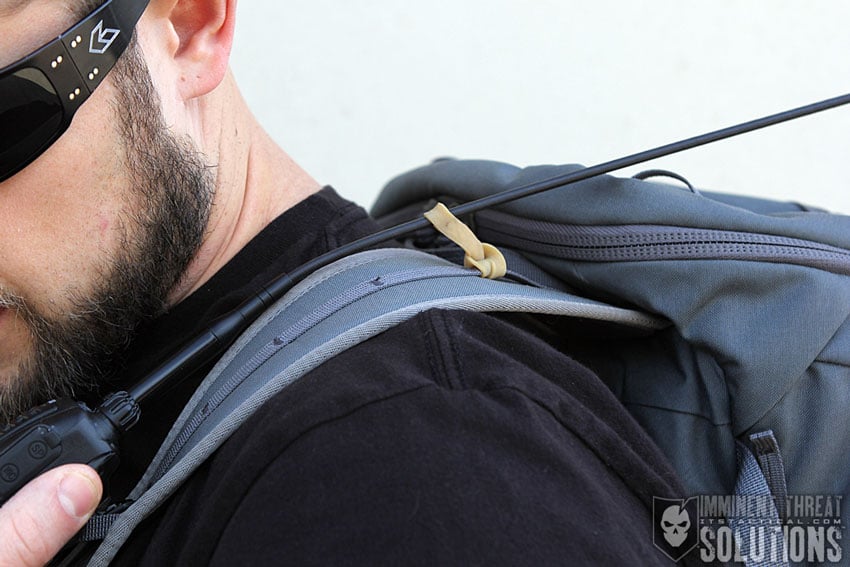
Depending on where you’re running your radio from will determine which of these techniques will be best for you. The simplest option is to run your radio from a backpack or chest rig strap and use a
Rigger’s Rubberband to curve the antenna back towards you to reduce it getting in your way. You can always release it from the rubber band if you’re not getting a good signal, but you shouldn’t have to.
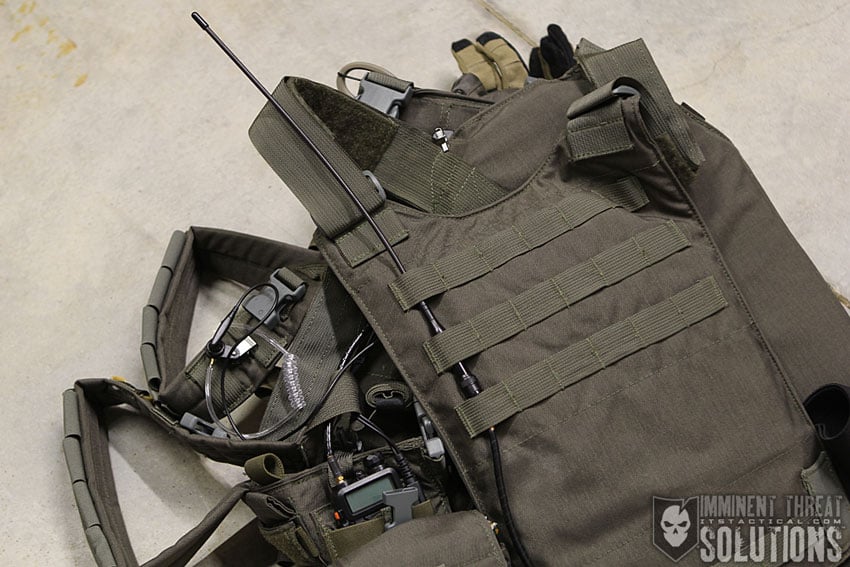
This of course might mean the radio itself is in your way though and you want to run it in a pouch on your belt or in a pouch on a chest rig. What you can do at this point is relocate the antenna if you have available MOLLE webbing to do so, or an attachment method to a backpack, etc. All you’ll need for this is an
extension cable that’s set up correctly for your antenna attachment. Don’t skimp on the extension cable and ensure you’re buying quality connectors and a name brand cable, an inferior cable can cause a poor signal, no matter how good your antenna is. An extension cable can also attenuate, or reduce the signal strength and some companies will list how much reduction to expect in dB.
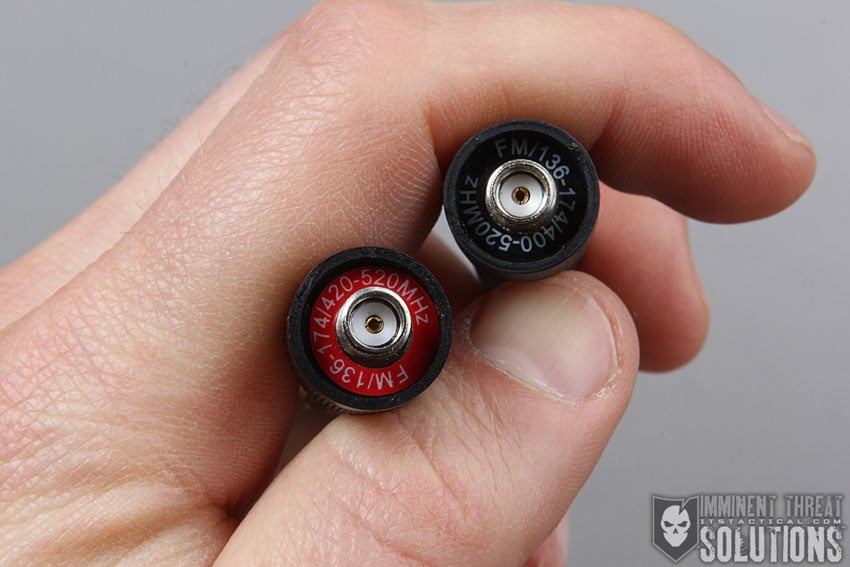
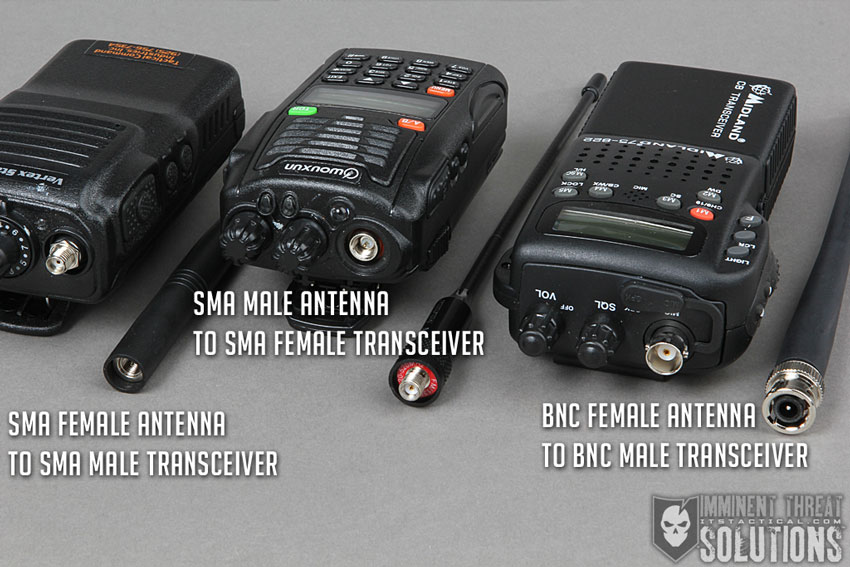
This is a good time to compare SMA connections to BNC connections. I’ve included a photo below describing Male SMA, Female SMA and BNC connectors. This is very important when buying extension cables and antennas in general. You need to know whether the transceiver portion of your radio is SMA or BNC, as well as whether it’s a male or female interface.
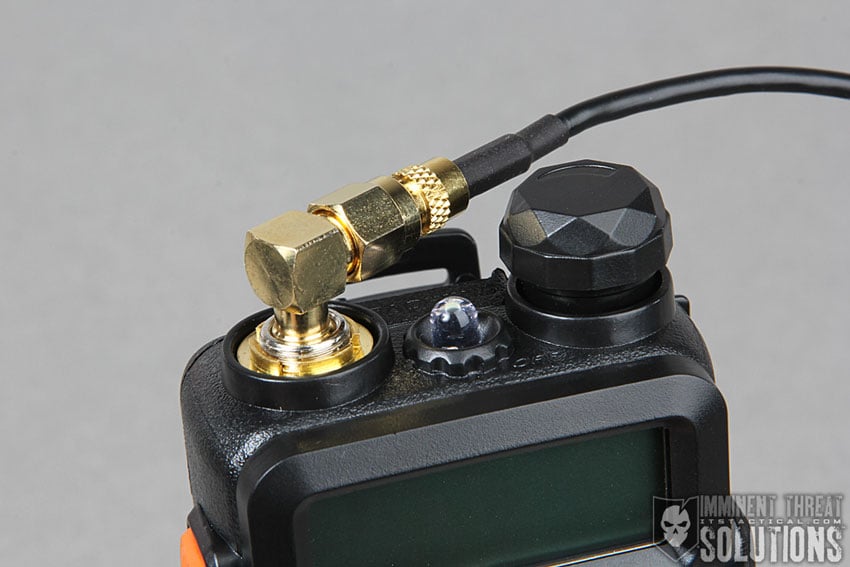
Another accessory you might want to consider if you’re running a radio from a chest rig or dedicated radio pouch is a
right-angle connector. Using a right-angle adapter for your extension cable can prevent your cable from getting crimped as its routed around your equipment. Again, double check your connections to ensure you’re buying the right type of right angle.
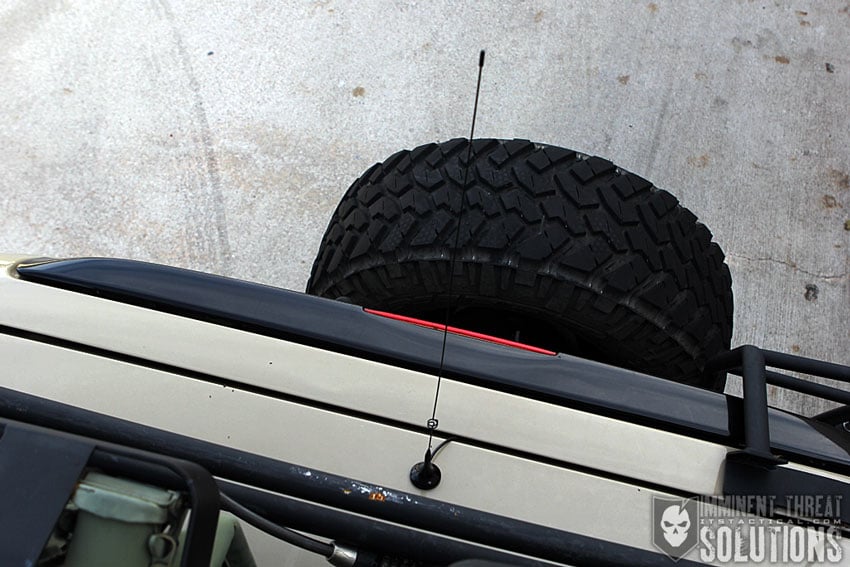
Many of the same companies I recommended to research for high-gain antennas make dedicated external antennas that either permanently mount on a vehicle, or utilize a magnet mount, making removal easy.
Batteries and Adapters
I’ll quickly mention that extra batteries are an important consideration in your comms plan. You don’t want to run out of juice when you need it the most.
Rechargeable batteries are the most popular option and carrying a spare charged battery can be a good plan. Another option is purchasing an extended rechargeable battery, which are often taller in profile, but hold a longer charge than a standard rechargeable. Alway try to stick to OEM (original equipment manufacturer) batteries when possible. Aftermarket batteries might not list specs and you might not be aware of a compatibility issue until its too late.
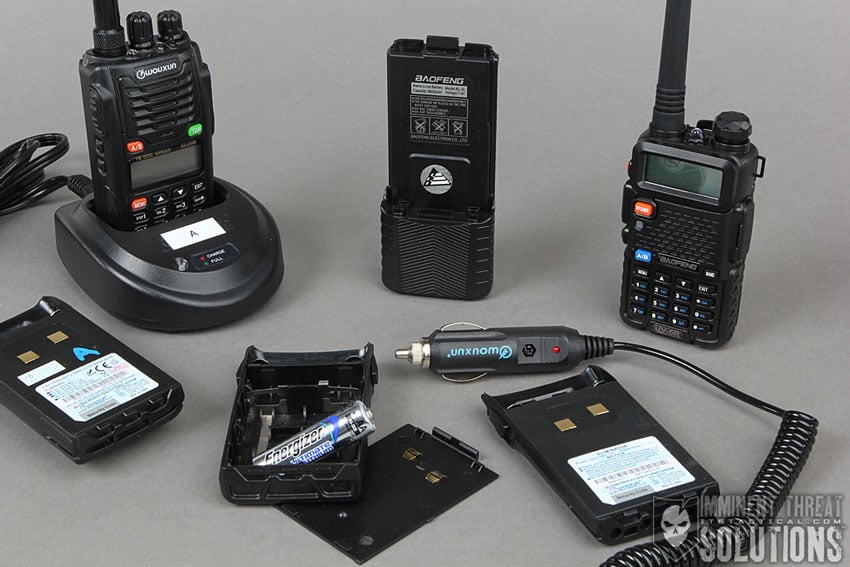
I know that both Wouxun and Baofeng also have battery pack and cigarette lighter adapter accessories that might be a good option for you. The battery pack replaces the rechargeable battery and can be loaded with AA batteries in a pinch. The cigarette lighter adapter allows you to directly power your handheld in a vehicle for extended operation.
Microphones and PTTs
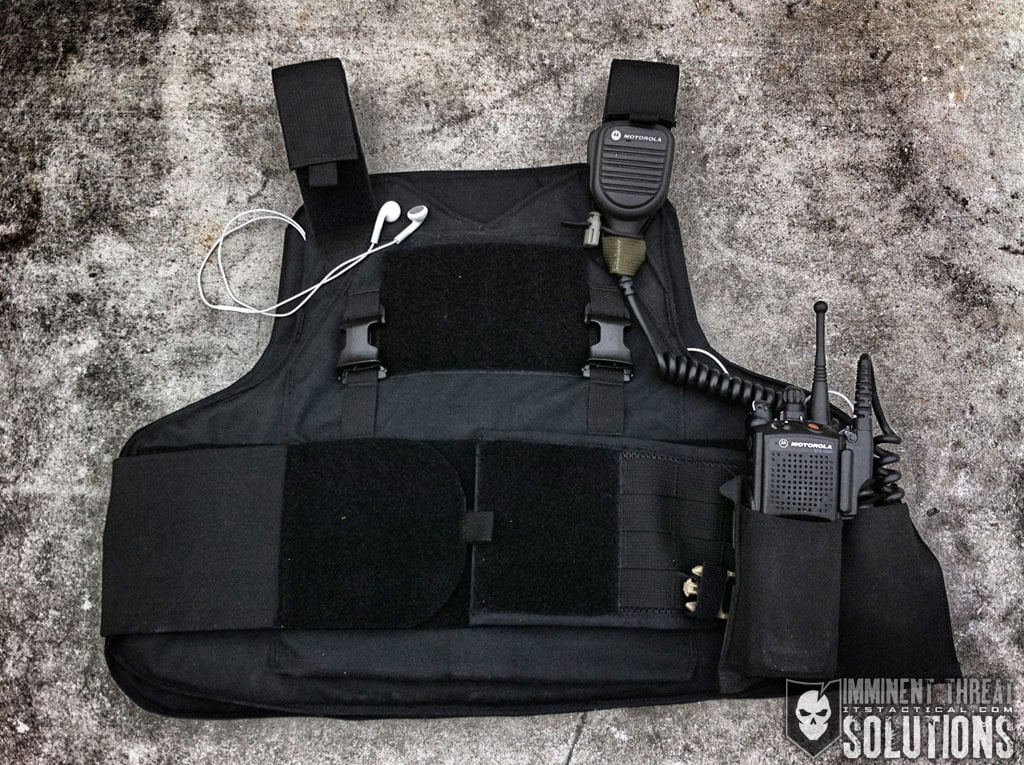
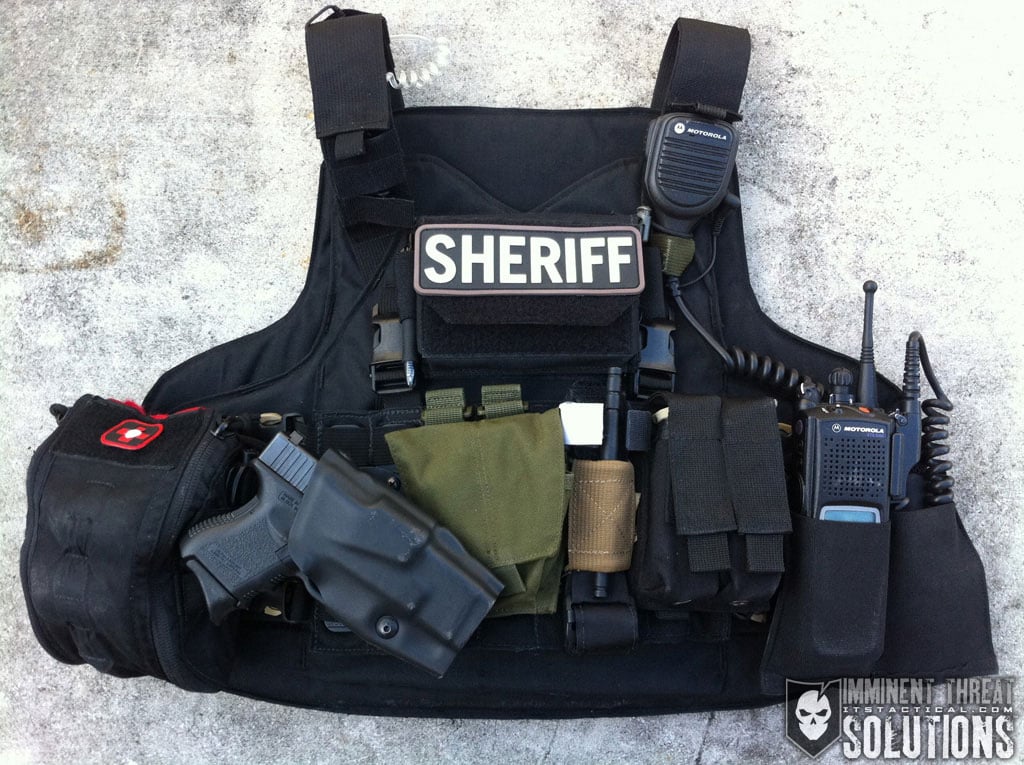
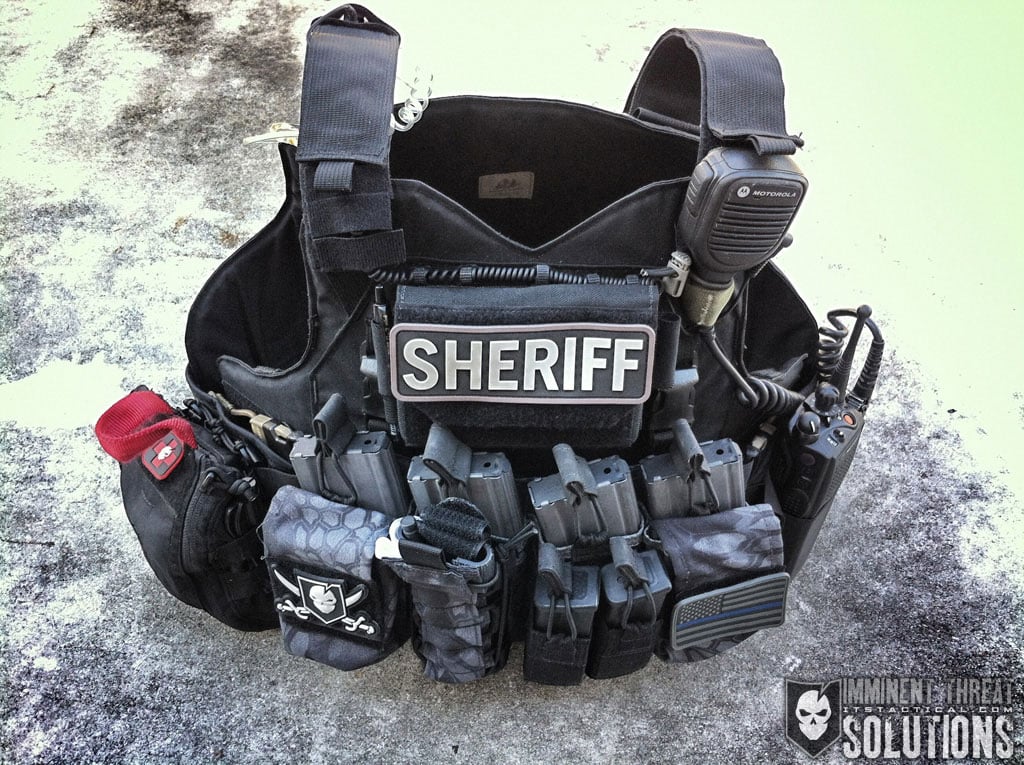
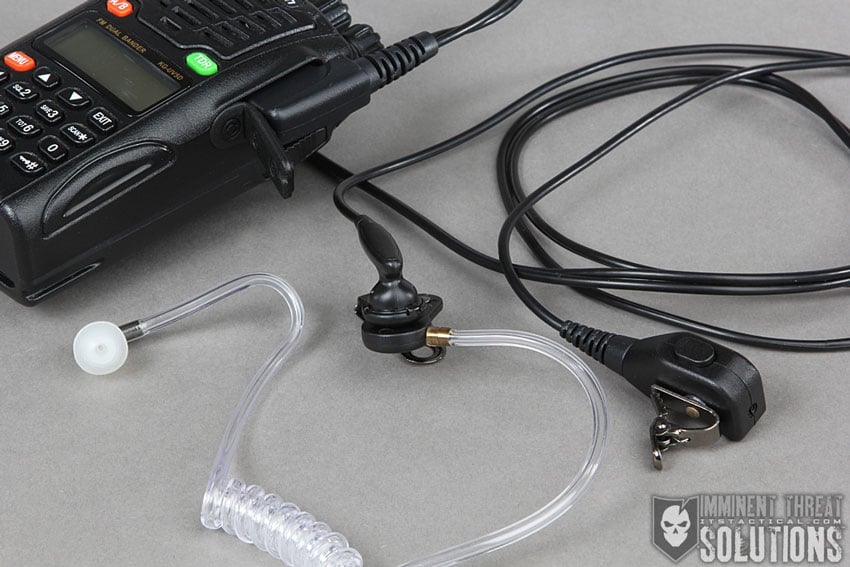
Depending on your usage, an external microphone like you often see Police Officers wearing might be a good option for you, but just like a handheld, everyone within earshot will hear everything coming over your transceiver.
For a more discreet profile you might want to look into a
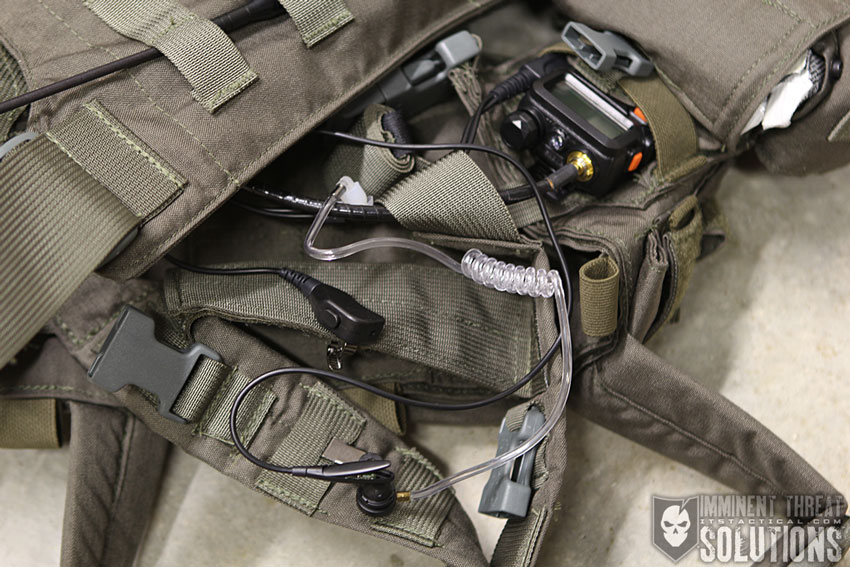
push-to-talk headset, which includes an earpiece for monitoring audio transmissions and a small handheld microphone that’s actuated with a push button to communicate.
Don’t Be A Dummy
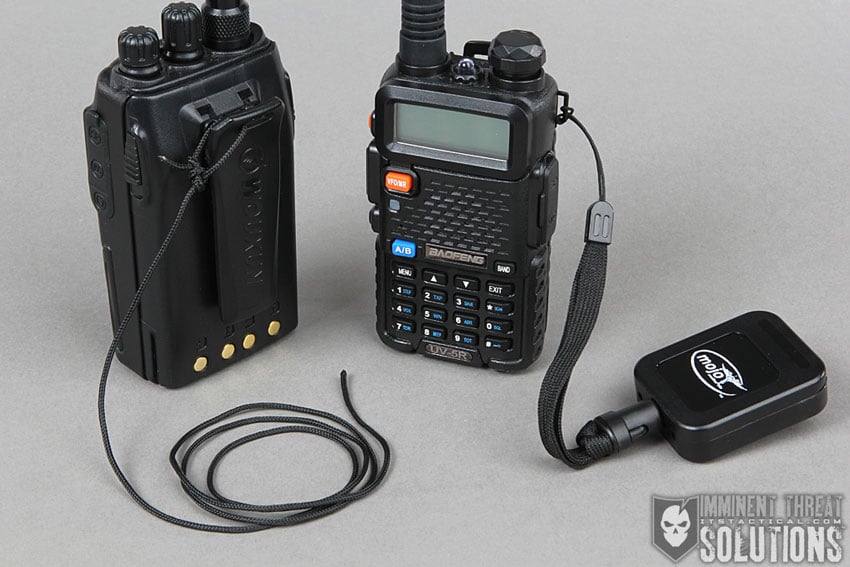
The last thing I’ll mention is that you should always ensure you have positive retention on your transceiver. A radio can be your lifeline in certain circumstances and treating it as a sensitive piece of equipment is important.
There’s a few ways of retaining your radio and it’s aways going to be what works best for you. The simplest method is
dummy cording it in with a piece of cordage. I’ve found the best knot to tie in this scenario is a Bowline and you can refer to our
Knot of the Week article on the Bowline to learn how to tie this knot.
The next option is a
retractable lanyard that features some kind of quick disconnect that will allow you to quickly remove the radio from the retention if you need to pass it off to someone else.
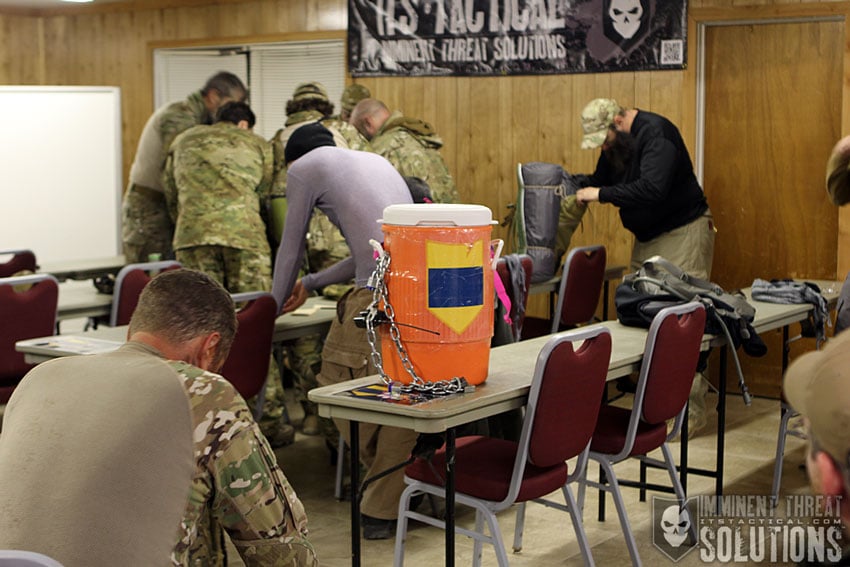
Whichever option you choose, just don’t lose your radio at night moving through the woods like Delta Squad did at our last Muster. Thankfully we had one of the best trackers in the world named John Hurth from
TYR Group with us. After Delta reported their lost radio and couldn’t find it, John tracked the black radio down in the middle of the night. Delta had to pay the man a bit and along with their radio being tied into a water jug, they had a name change to Dora Squad.
Stay tuned for the next article in our Ultimate Radio Communication Guide series, where I’ll be going over repeaters, scanners and even more on antennas. Do you already own a dual band handheld? I’d love to hear about what’s working for you and anything additional you can add to this resource I’ve put together.
ΠΗΓΗ http://www.itstactical.com/digicom/comms/ultimate-radio-communication-guide-what-to-look-for-in-a-handheld-transceiver/
